Conducting a Session
Step-by-step guide for volunteers to start a tabling session, collect contacts, and end their shift.
This guide walks you through a complete tabling session — from setting up at your location to recording each contact and wrapping up at the end of your shift.
Starting a Session
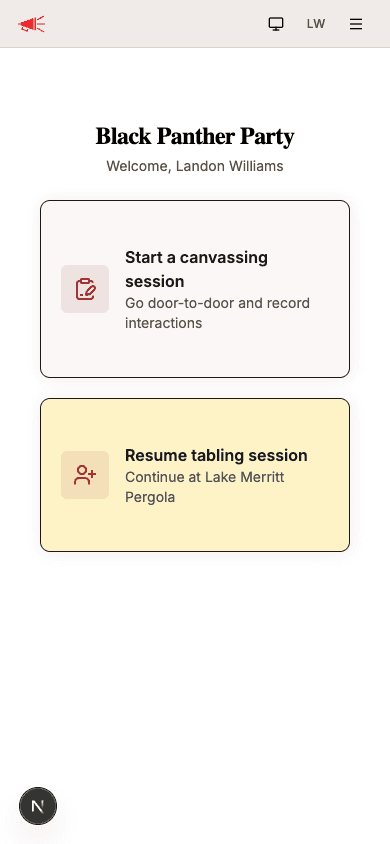
Open the app on your phone. You'll see the outreach home screen with two options: canvassing and tabling.
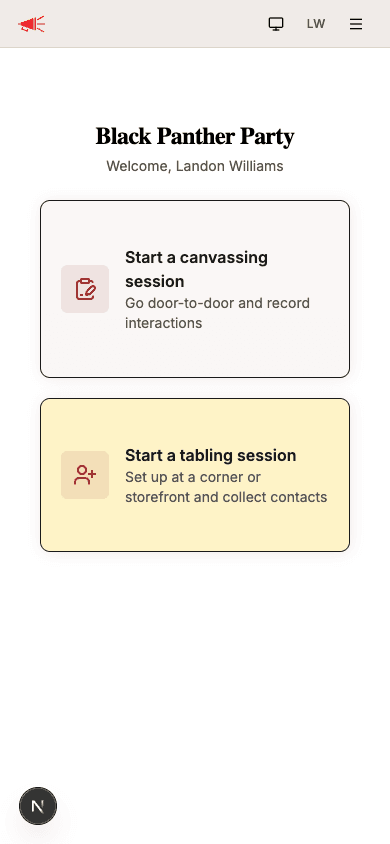
Tap Start a tabling session to begin.
Set Your Location
Every tabling session needs a location label — a short description of where you're standing (e.g., "Lake Merritt Pergola"). This is what appears as the session title throughout the app, so make it specific enough that you and your admins can recognize the event later.
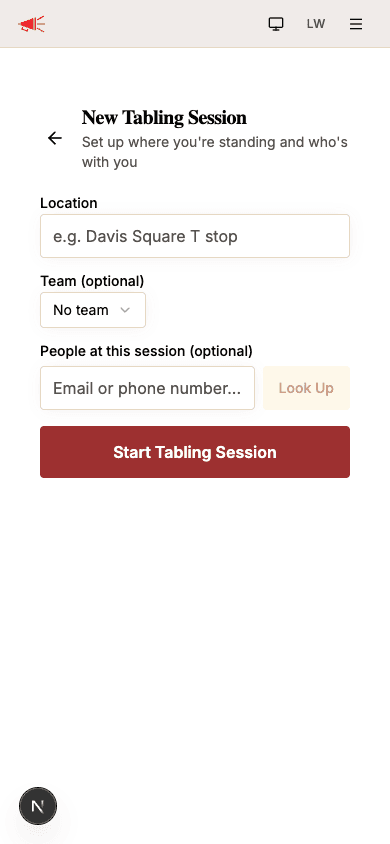
| Field | Required | Description |
|---|---|---|
| Location | Yes | Where you're standing — freeform text is fine. |
| Team | No | Pick a team if this session belongs to one. |
| People at this session | No | Look up other volunteers tabling with you by email or phone, the same way you would for a canvassing session. |
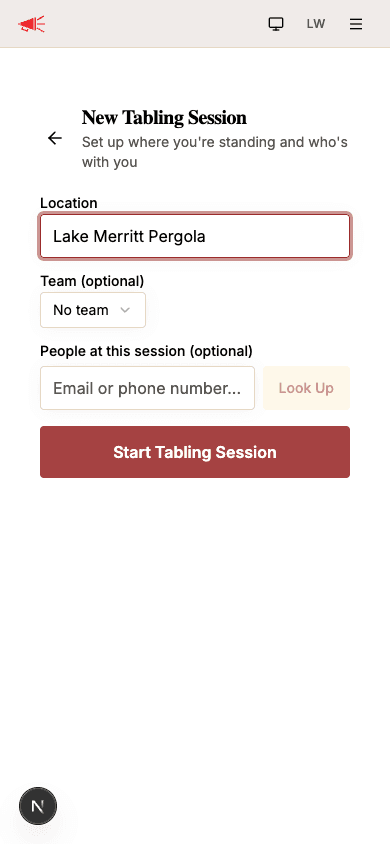
When everything looks good, tap Start Tabling Session. You'll be taken to the active session screen.
Recording Contacts
The active session screen has the session header at the top, the list of contacts you've collected so far, and a form for recording the next one.
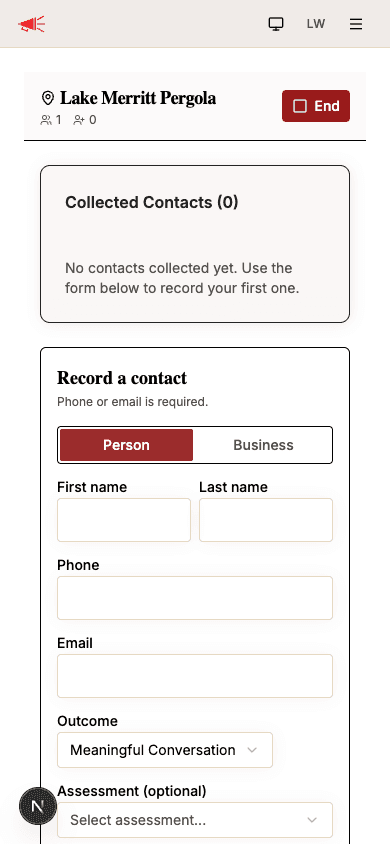
For each person who engages and wants to stay in touch, fill out the form and tap Record Contact.
Phone or Email Is Required
Tabling collects contact info, not addresses. At least one of phone or email must be filled in — first name, last name, and everything else are optional. The form won't submit until you have a way to reach the person.
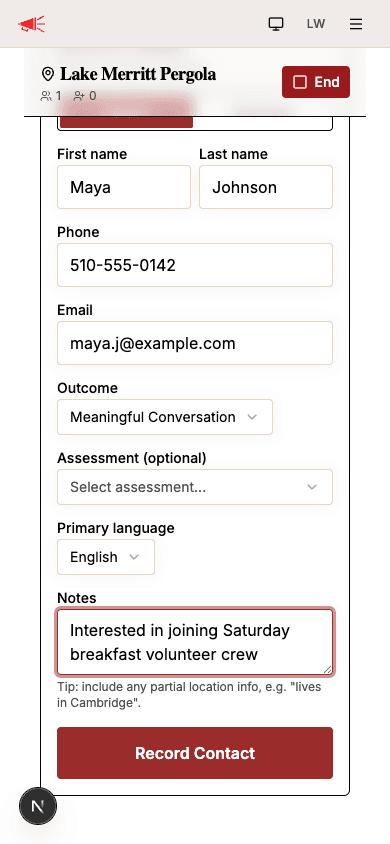
| Field | Required | Description |
|---|---|---|
| Person / Business | — | Toggle between a person and a business. |
| First name / Last name | No | Capture what they share. |
| Phone | Phone or email | Standard US format works (e.g., 510-555-0142). |
| Phone or email | ||
| Outcome | Yes | How the conversation went. |
| Assessment | No | Optional tag your org defines (e.g., Supporter, Persuadable). |
| Primary language | No | Defaults to English. |
| Notes | No | Free-form notes. Tip: include any partial location info they share (e.g., "lives in Cambridge"). |
Outcome Options
Tap the Outcome dropdown to pick the right label:
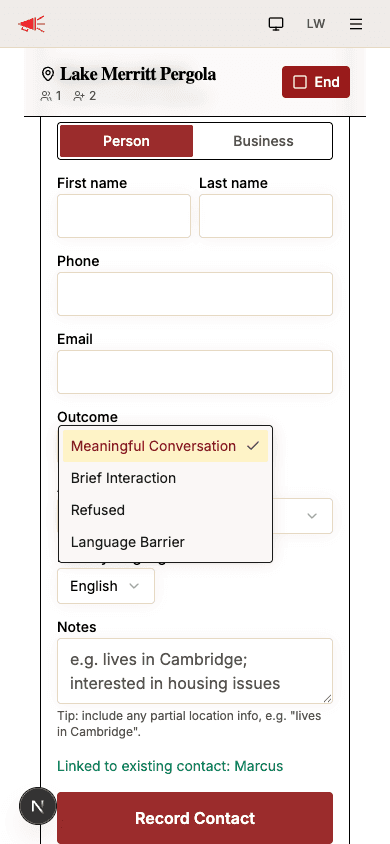
| Outcome | When to use |
|---|---|
| Meaningful Conversation | A substantive conversation that built rapport. |
| Brief Interaction | A short, friendly exchange. |
| Refused | They declined to engage. |
| Language Barrier | You couldn't communicate due to a language difference. |
Submitting
Tap Record Contact to save. The contact appears at the top of the Collected contacts list, and the form clears so you can record the next person. The outcome and primary language fields stay set as you submitted them, so back-to-back contacts go faster.
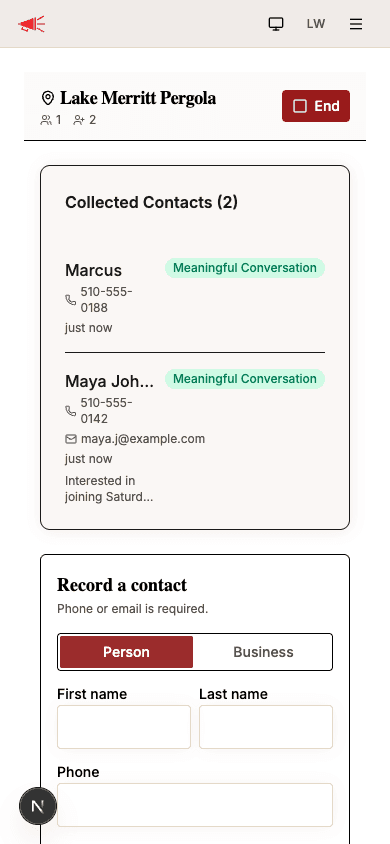
Duplicate Contacts
If you enter a phone number or email that already exists in your organization's contacts, the new interaction is linked to the existing contact instead of creating a duplicate. A green status message reads "Linked to existing contact: [name]" so you know it was matched.
Resuming a Session
If you leave the app and come back while your session is still active, the outreach home screen will show Resume tabling session on the tabling card instead of "Start a tabling session." Tap it to pick up right where you left off.
Ending a Session
When you're done for the day, tap the red End button in the session header. A confirmation dialog will appear.
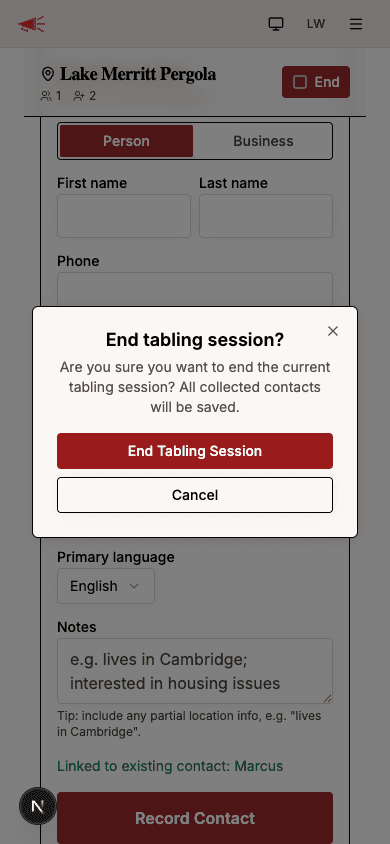
Tap End Tabling Session to confirm. All your collected contacts are saved — nothing is lost. You'll be taken back to the outreach home screen.